")
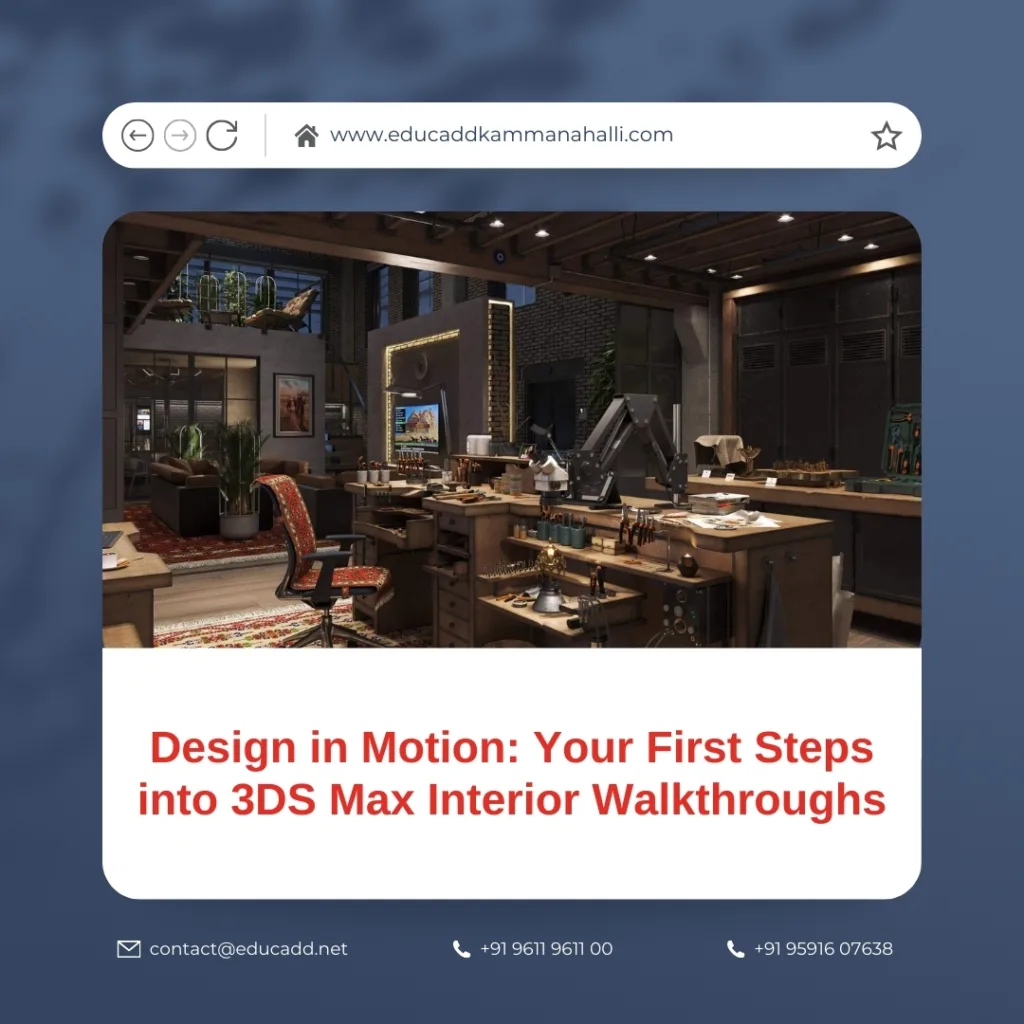
Design in Motion: Your First Steps into 3DS Max Interior Walkthroughs
Creating realistic interior walkthroughs used to be a skill reserved for experienced 3D artists. Today, with 3DS Max Interior Walkthroughs, even beginners can bring their design visions to life. This software allows you to model, texture, light, and animate interiors with a level of realism that impresses clients and viewers alike. If you’ve always wanted to transform your ideas into immersive experiences, this guide will walk you through the essentials.
3DS Max Interior Walkthroughs
In the sections below, you’ll learn how to get started with 3DS Max for interior walkthroughs, from understanding the basics to adding the final touches. Whether you’re a design student, an aspiring architect, or a hobbyist, this step-by-step approach will help you create smooth, realistic walkthroughs that feel like real spaces.
1. Understanding 3DS Max and Its Role in Interior Walkthroughs
Before you start building interiors, you need to understand why 3DS Max is such a preferred choice. Developed by Autodesk, this software is widely used in architecture, interior design, and 3D animation. It excels in precision modeling, advanced lighting control, and realistic rendering — three critical aspects of interior walkthrough creation.
When you work on an interior walkthrough, you’re essentially creating a virtual tour of a space. Unlike static renders, a walkthrough lets viewers “walk” through the design as if they were physically there. This dynamic approach helps clients better visualize layouts, materials, and lighting conditions.
The strength of 3DS Max for interior walkthroughs lies in its versatility. You can import CAD floor plans, model furniture, simulate lighting, and then animate a camera path. Additionally, it integrates seamlessly with rendering engines like V-Ray or Corona Renderer, which boost realism further. This makes it an all-in-one solution for design presentation.
2. Getting Started: Setting Up Your Interior Project
Once you’ve installed 3DS Max, the first step is to set up your project correctly. Good preparation ensures smoother workflow and fewer mistakes later.
Importing Your Layout
If you already have a floor plan from AutoCAD or another drafting tool, you can import it directly. Use the “Import” function and make sure units match your original file. This prevents scaling issues when modeling furniture or walls.
Defining Units and Scale
Interior walkthroughs rely on accurate proportions. Go to “Customize” > “Units Setup” and choose either metric or imperial, depending on your region and project requirements. Maintaining scale accuracy is crucial for realism.
Organizing Your Workspace
Use layers to separate walls, furniture, lighting, and decorative items. This will make it easier to toggle elements on or off during modeling and animation. Setting up named layers early in the process saves significant time later.
Tip: Always save incremental versions of your file. Interior walkthrough projects can become complex, and having backups ensures you can revert if something goes wrong.
3. Building the Scene: Modeling Interiors in 3DS Max
Modeling is where your design starts to take shape. In 3DS Max, you can use both standard primitives and editable poly techniques to create accurate interior structures.
Creating Walls, Floors, and Ceilings
Begin by tracing over your imported floor plan. Use the “Line” tool or “Box” primitives to outline walls, then extrude them to the correct height. Apply similar methods for floors and ceilings.
Adding Furniture and Fixtures
You can model furniture from scratch or download ready-made models from libraries like 3D Warehouse or TurboSquid. Ensure that furniture is correctly scaled and positioned for the walkthrough path.
Details That Matter
Small details — skirting boards, light switches, or even window trims — enhance realism. These elements might seem minor, but they contribute to the overall immersive experience.
Optimizing Geometry
For a smooth walkthrough animation, keep polygon counts reasonable. Heavy geometry slows down viewport performance and increases rendering times. Use modifiers like “Optimize” or replace complex objects with lower-poly versions when possible.
4. Lighting and Texturing for Realism
Lighting can make or break an interior walkthrough. 3DS Max for interior walkthroughs offers several lighting tools that can simulate real-world conditions.
Choosing the Right Lighting Setup
Start with daylight systems for spaces with windows. Adjust the sun position according to the project’s geographical location. For interiors without natural light, rely on artificial sources like photometric lights to mimic real fixtures.
Texturing Surfaces
Use high-resolution textures for walls, floors, and furniture. Apply materials through the Material Editor, adjusting parameters like glossiness and reflection for realism. Remember to use UVW Mapping for proper texture alignment.
Balancing Light and Shadow
Shadows add depth to a scene, but too many dark areas can make spaces feel smaller. Adjust light intensity and use fill lights to soften harsh shadows.
Tip: Always test render small sections before committing to full-scale rendering. This saves time and helps you fine-tune lighting without waiting for long renders.
5. Animating and Rendering Your Walkthrough
With your scene modeled and lit, it’s time to create the walkthrough animation. This step transforms your static model into an engaging, moving presentation.
Setting Up a Camera Path
In 3DS Max, create a spline path representing the route you want viewers to follow. Attach a camera to this path and adjust the field of view to capture the right amount of space.
Smooth Camera Movements
Avoid abrupt turns or changes in speed. Use keyframes to control camera motion and apply “Ease In” and “Ease Out” for smoother transitions. The goal is to make viewers feel like they’re gliding through the space.
Rendering Your Animation
Choose a rendering engine such as V-Ray or Arnold for final output. Set your resolution based on the target platform — for example, 1920×1080 for online presentations. Remember that rendering an animation can take hours or even days, depending on scene complexity.
Post-Processing for a Polished Look
After rendering, you can enhance colors, contrast, and sharpness in post-production software like Adobe After Effects or Premiere Pro. This final polish can make a big difference in how professional your walkthrough looks.
Final Thoughts: Your Journey into 3D Interior Walkthroughs
Mastering 3DS Max Interior Walkthroughs doesn’t happen overnight, but with consistent practice, you’ll see steady improvement. Start with small spaces, experiment with different lighting setups, and learn to optimize your workflow. The more projects you complete, the more confident you’ll become in your skills.
An interior walkthrough isn’t just a technical task — it’s a storytelling medium. Every camera movement, light source, and texture contributes to the narrative of the space you’re presenting. By combining technical precision with creative vision, you can produce walkthroughs that captivate and convince.
With the right approach, 3DS Max becomes more than just software; it becomes your bridge between imagination and visual reality.

