")
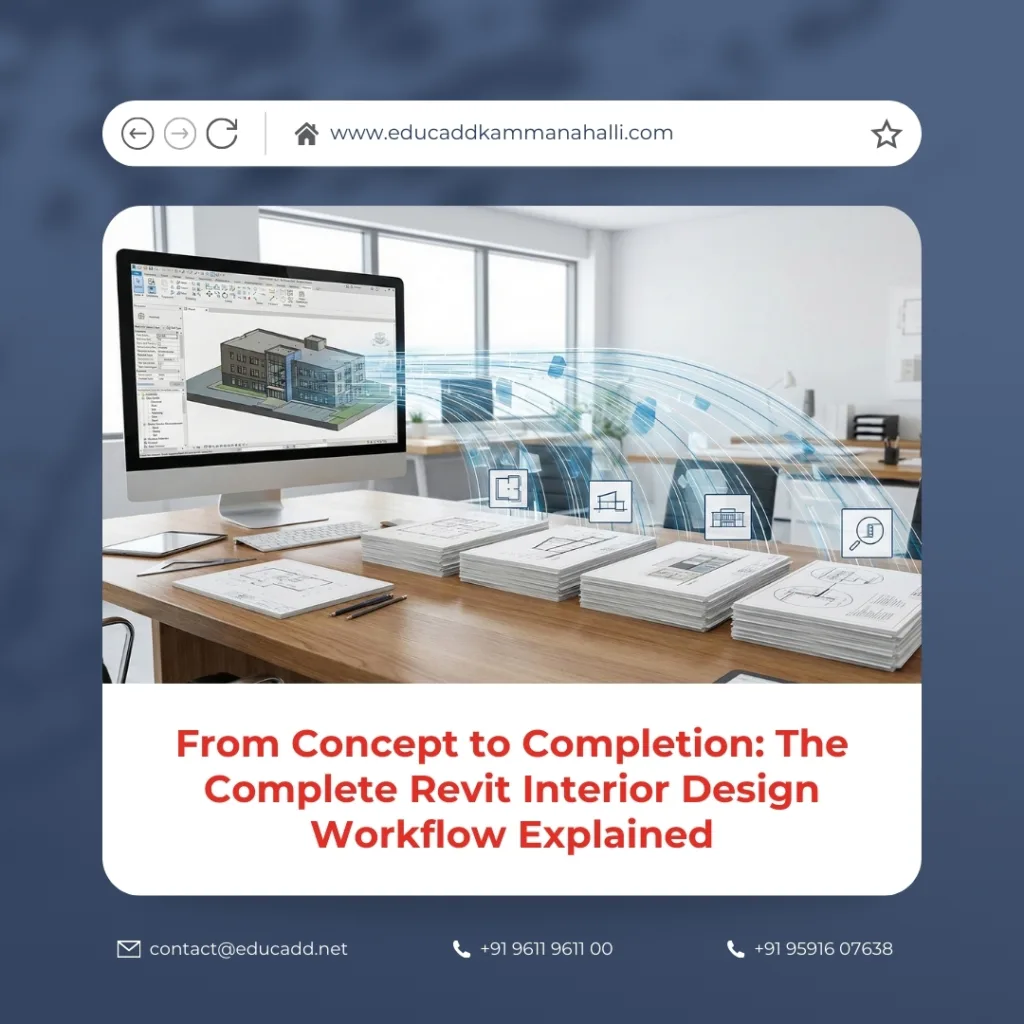
From Concept to Completion: The Complete Revit Interior Design Workflow Explained
Interior design has evolved far beyond static drawings and mood boards. Today, clients expect accuracy, speed, visualization, and seamless coordination. This shift has pushed designers toward Building Information Modeling tools, with Revit leading the way. The Revit Interior Design Workflow allows designers to move from concept to execution with clarity, control, and confidence.
Revit Interior Design Workflow
Unlike traditional CAD-based methods, Revit connects design intent with real-world data. Every wall, finish, furniture element, and lighting fixture exists within a smart model. This blog explains the Revit Interior Design Workflow in depth, guiding you through every stage in a structured, practical, and professional manner.
1. Project Setup and Template Planning in Revit
Every successful interior project begins with a strong foundation. In the Revit Interior Design Workflow, that foundation is the project setup. Designers start by selecting or creating an interior-specific Revit template. This template defines units, view scales, annotation styles, line weights, and families.
A well-prepared template saves time and enforces consistency. Designers also define project information, phases, and worksets at this stage. Proper setup ensures smoother collaboration later. When teams skip this step, errors multiply quickly. Therefore, disciplined planning plays a vital role in the Revit Interior Design Workflow.
2. Importing Architectural Models and Setting Levels
Interior designers rarely work in isolation. Most projects begin with an architectural Revit model. The Revit Interior Design Workflow integrates this model through linking rather than importing. Linked models maintain coordination without corrupting data.
Designers align levels, grids, and reference planes to the architectural framework. Accurate alignment ensures that ceilings, partitions, and built-in furniture sit correctly. This step establishes spatial accuracy and prevents costly rework during documentation. Coordination at this stage strengthens the entire Revit Interior Design Workflow.
3. Space Planning and Layout Development
Space planning defines how users experience the interior. In the Revit Interior Design Workflow, designers use rooms, areas, and color schemes to evaluate layouts. These tools help analyze circulation, furniture clearances, and functional zoning.
Revit allows rapid iteration without redrawing from scratch. Designers adjust walls, partitions, and layouts dynamically. Since the model remains parametric, all views update instantly. This capability transforms early-stage planning into a data-driven process within the Revit Interior Design Workflow.
4. Interior Wall Modeling and Partition Design
Interior walls shape the design language of a space. Within the Revit Interior Design Workflow, designers create wall types based on finishes, thickness, and acoustic needs. Revit enables custom wall assemblies for gypsum partitions, glass walls, or decorative panels.
Designers control wall heights, offsets, and joins precisely. Any modification reflects across plans, sections, and elevations. This reduces drafting effort while increasing accuracy. Wall modeling forms a critical backbone of the Revit Interior Design Workflow.
5. Floor Finishes, Ceiling Systems, and Vertical Elements
Finishes define the visual identity of interiors. The Revit Interior Design Workflow handles finishes through floors, ceilings, and material assignments. Designers create floor types for tiles, wood, carpet, or stone. Each material carries physical and visual properties.
Ceiling systems include gypsum boards, exposed grids, and feature ceilings. Revit allows designers to manage ceiling heights, lighting coordination, and services integration. Vertical elements such as wall panels and cladding also integrate seamlessly. This level of detail elevates the Revit Interior Design Workflow from concept to constructible design.
6. Doors, Windows, and Interior Openings Coordination
Interior openings influence flow and usability. In the Revit Interior Design Workflow, doors and windows are intelligent components. Designers select families based on material, hardware, and fire ratings.
Each opening connects to schedules automatically. Changes update quantities and drawings instantly. Designers can also customize swing directions, panel styles, and glazing. This precision improves coordination with architects and contractors. As a result, the Revit Interior Design Workflow minimizes site-level conflicts.
7. Furniture Layout and Custom Family Creation
Furniture defines how spaces function. The Revit Interior Design Workflow allows designers to place parametric furniture families. These families include sofas, workstations, wardrobes, and modular units.
Designers also create custom families for bespoke furniture. Parameters control dimensions, materials, and visibility. Furniture schedules generate quantities automatically. This integration strengthens design accuracy and budget control within the Revit Interior Design Workflow.
8. Lighting Design and Fixture Coordination
Lighting transforms interiors. In the Revit Interior Design Workflow, lighting design integrates with reflected ceiling plans and 3D views. Designers place fixtures with accurate mounting heights and photometric data.
Revit supports lighting analysis and coordination with electrical layouts. Fixture schedules update automatically when designs change. This approach ensures compliance and visual consistency. Lighting integration marks a major advantage of the Revit Interior Design Workflow.
9. Material Assignment and Finish Visualization
Material selection influences both aesthetics and cost. The Revit Interior Design Workflow links materials directly to model elements. Designers assign textures, colors, reflectivity, and physical properties.
These materials drive renderings, schedules, and quantity takeoffs. Designers can test variations quickly. Clients benefit from realistic previews before execution. Material intelligence enhances decision-making throughout the Revit Interior Design Workflow.
10. Creating Interior Elevations and Sections
Interior elevations communicate design intent clearly. In the Revit Interior Design Workflow, elevations generate directly from the model. Designers place elevation markers and adjust crop regions.
Sections reveal construction details and vertical relationships. Since views remain live, updates propagate instantly. This eliminates redrawing errors. Accurate elevations and sections form a documentation backbone in the Revit Interior Design Workflow.
11. Detailing, Joinery Drawings, and Construction Accuracy
Detailed drawings bridge design and execution. The Revit Interior Design Workflow supports high-detail joinery, cabinetry, and millwork drawings. Designers add detail components, annotations, and callouts.
Revit ensures that details align with model geometry. This reduces ambiguity for contractors. Precision detailing improves build quality and reinforces trust in the Revit Interior Design Workflow.
12. Schedules, Quantities, and Cost Control
Data-driven design sets Revit apart. The Revit Interior Design Workflow generates schedules for furniture, finishes, doors, lighting, and quantities. These schedules update automatically.
Designers use this data for budgeting, procurement, and coordination. Errors decrease because manual calculations disappear. Cost transparency becomes a natural outcome of the Revit Interior Design Workflow.
13. Rendering, Walkthroughs, and Client Presentations
Client communication defines project success. The Revit Interior Design Workflow includes built-in rendering and walkthrough tools. Designers create realistic visuals directly from the model.
These visuals help clients understand scale, materials, and lighting. Design approvals become faster. Visualization closes the gap between concept and expectation within the Revit Interior Design Workflow.
14. Coordination, Revisions, and Final Documentation
Design evolves continuously. The Revit Interior Design Workflow handles revisions efficiently. Designers track changes, manage revisions, and coordinate with consultants.
Final documentation includes plans, elevations, sections, schedules, and details. Since everything comes from one model, consistency remains intact. This integrated process defines the true strength of the Revit Interior Design Workflow.
Conclusion
The Revit Interior Design Workflow is more than software usage. It represents a shift toward intelligent, coordinated, and data-driven interior design. From space planning to final documentation, every stage connects seamlessly.
Designers who master this workflow deliver higher accuracy, better visualization, and stronger collaboration. As the industry continues to demand efficiency and precision, Revit becomes an essential skill. Embracing the Revit Interior Design Workflow positions interior designers for long-term success in a competitive market.

