")
Powering Precision: A Beginner’s Guide to Wiring Diagram Creation for Industrial Projects
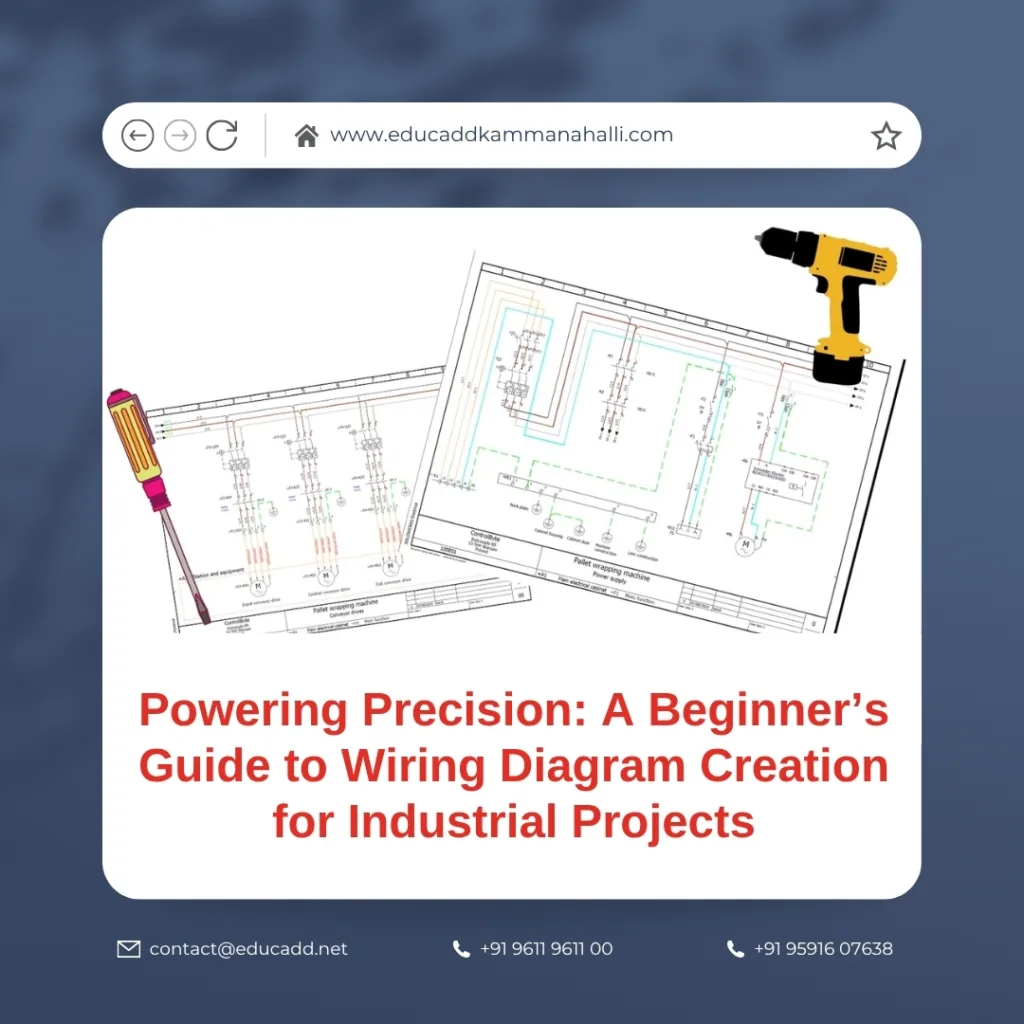
Industrial Wiring Diagram Guide
1. Understanding the Basics of Wiring Diagrams in Industrial Settings
Creating accurate Industrial Wiring Diagram Guide for industrial projects is essential for both planning and execution. These diagrams act as the blueprint for electrical systems, showing how wires, devices, and components are interconnected. For beginners, grasping the basics can make a huge difference when transitioning from theoretical knowledge to practical application.
To begin with, wiring diagrams are not just simple sketches. Instead, they are detailed representations, often created using specialized software like AutoCAD Electrical or EPLAN. These diagrams illustrate power supply routes, signal paths, grounding systems, and control logic.
Moreover, industrial wiring diagrams can differ from residential or commercial ones. Industrial environments require diagrams that consider factors such as high-load machinery, complex control systems, and redundancy in case of failure. As a result, proper labeling, standard symbols, and consistent formatting become non-negotiable.
Another crucial point is understanding the different types of industrial wiring diagrams:
-
Schematic diagrams show logic flow without focusing on the physical layout.
-
Single-line diagrams present an overview of the entire electrical system using single lines and symbols.
-
Wiring diagrams provide detailed wire-to-wire connections for every component in the system.
In short, wiring diagrams serve as the foundation for safe, efficient, and scalable electrical installations in any industrial setup.
2. Tools and Software Used for Wiring Diagram Creation
In today’s digital age, manual drafting is outdated, especially for complex industrial wiring diagrams. Specialized software tools make the process more accurate and significantly faster. In fact, investing time in learning these tools can speed up your workflow and reduce errors.
Here are the most commonly used tools for wiring diagram creation:
-
AutoCAD Electrical: This is an industry-standard tool used for creating electrical control systems. It includes libraries with thousands of standard components and automated features that simplify repetitive tasks.
-
EPLAN Electric P8: EPLAN offers powerful features for project documentation, from schematic diagrams to panel layouts. It’s widely used in Europe and is gaining global traction.
-
SolidWorks Electrical: Known for its strong integration with mechanical design tools, it enables seamless collaboration between electrical and mechanical teams.
-
ETAP and SmartDraw: ETAP is typically used for power systems analysis but includes diagramming features. SmartDraw, on the other hand, offers ease of use and is great for quick layouts.
When choosing a tool, consider the complexity of your industrial project, your team size, collaboration needs, and budget. While some software might seem expensive initially, they save considerable time and prevent costly mistakes down the line.
Furthermore, it’s critical to maintain version control when using these tools. Diagrams can go through multiple revisions, especially in large-scale industrial installations. So, proper file management and backup protocols must be followed diligently.
By adopting modern tools, you not only streamline your workflow but also meet global standards in industrial wiring diagram creation.
3. Step-by-Step Process to Create Industrial Wiring Diagrams
Now that you understand the tools, let’s explore the actual process of wiring diagram creation for industrial projects. Following a systematic approach ensures consistency, accuracy, and reliability. Even better, it allows every stakeholder to understand the system layout without confusion.
Step 1: Collect Project Requirements
Start by gathering all technical specifications. This includes load requirements, equipment lists, power ratings, and control strategies. Without this foundational data, your wiring diagram can’t accurately reflect the needs of the project.
Step 2: Define Component Placement
Although not part of the diagram itself, knowing where each component will be placed physically helps inform the connections. Placement data also assists in estimating wire lengths, conduits, and routing paths.
Step 3: Draft Preliminary Schematic
Begin with a high-level schematic to show the logical sequence of components. This step helps verify the control flow and the relationship between power and signal components.
Step 4: Add Detailed Wiring Information
This is the core of the process. Use your software tool to connect every wire, terminal, relay, and control device. Follow industry-standard symbols (as per IEC or ANSI standards) and maintain clarity.
Step 5: Label All Components and Wires
Each wire and component should have a unique label. Labels must be consistent with the Bill of Materials (BoM) and must match the actual installation labels for seamless on-ground execution.
Step 6: Validate and Simulate (If Possible)
Some advanced software allows simulation of circuits to detect faults or errors. If available, use this feature. Validation ensures that your diagram doesn’t have open loops, short circuits, or overloads.
Step 7: Final Review and Export
Once validated, export the wiring diagram in appropriate formats like PDF, DWG, or XML. Make sure to include revision history and a legend for symbols used.
Each of these steps builds upon the previous one. Skipping a step can result in inconsistencies and rework. Therefore, following a structured methodology ensures a smooth, error-free outcome.
4. Common Mistakes to Avoid in Industrial Wiring Diagrams
Even seasoned professionals make mistakes while drafting industrial wiring diagrams. However, for beginners, being aware of these pitfalls can prevent costly errors and save time during installation.
1. Using Incorrect Symbols
Always use standardized symbols. Mixing IEC and ANSI standards without clarity confuses technicians and may lead to incorrect wiring.
2. Inadequate Labeling
Without proper wire and terminal labels, installation teams may struggle to interpret the diagram, leading to delays or even electrical faults.
3. Ignoring Grounding
Many diagrams skip grounding details, which are critical in industrial environments to prevent hazards like electrical shocks or equipment failure.
4. Overcomplicating Layouts
While it’s essential to be thorough, avoid clutter. Clear, simple layouts are easier to read and modify in the future.
5. Not Updating Revisions
Project changes happen all the time. Failing to update your wiring diagrams with these changes creates discrepancies between the document and the field implementation.
6. Overlooking Load Calculations
Forgetting to calculate wire gauge and load limits can result in overheating, equipment damage, and even fires.
7. Missing Documentation
Failing to include supporting documentation such as legends, revision logs, or component datasheets makes the diagram incomplete and unprofessional.
Avoiding these errors doesn’t just improve the quality of your diagrams—it also ensures that your work is trusted and respected in the industry.
5. Practical Tips for Beginners Entering the Field
Getting started with wiring diagram creation for industrial projects might seem overwhelming. However, with the right strategies, you can build confidence and skill quickly.
1. Learn Industry Standards First
Before touching any software, get familiar with IEC and ANSI standards. Understanding these conventions helps you communicate your design effectively.
2. Start With Simple Projects
Don’t jump into high-voltage or high-complexity systems initially. Begin with motor control circuits, lighting panels, or HVAC diagrams to build your foundation.
3. Use Templates and Libraries
Most software tools offer libraries with standard parts and templates. These not only save time but also reduce manual errors.
4. Join Online Communities
There are many forums and groups for electrical designers where you can ask questions, share diagrams, and get feedback. Being part of a community accelerates your learning.
5. Practice Version Control
Always save different versions of your diagram as your project evolves. Good file management avoids confusion and data loss.
6. Stay Updated With Trends
Technologies evolve, and so do design practices. Subscribe to electrical engineering blogs, attend webinars, and take certification courses when possible.
7. Collaborate With Field Technicians
Diagram creation isn’t just about drawing. Interact with technicians who will use your diagrams. Their practical insights will help you create more realistic and functional layouts.
By following these tips, you set yourself on a path toward mastery, one project at a time.
Conclusion
In the world of industrial automation, control systems, and power distribution, wiring diagram creation for industrial projects is a critical skill. From understanding diagram types and using the right tools to following a systematic process and avoiding common mistakes, this guide has laid the foundation for beginners entering the field.
Industrial Wiring Diagram Guide are more than technical documents. They are the language that connects design, execution, and safety in every industrial installation. Learning this language takes time, practice, and attention to detail—but it opens the door to a career filled with opportunity, innovation, and impact.
Whether you’re designing control panels, managing a plant retrofit, or setting up a brand-new facility, mastering this skill ensures that your electrical systems are built on a blueprint of precision and clarity.

