")
Mastering Interior Spaces: Learn SketchUp for Interior Projects and Unlock Visualization Power
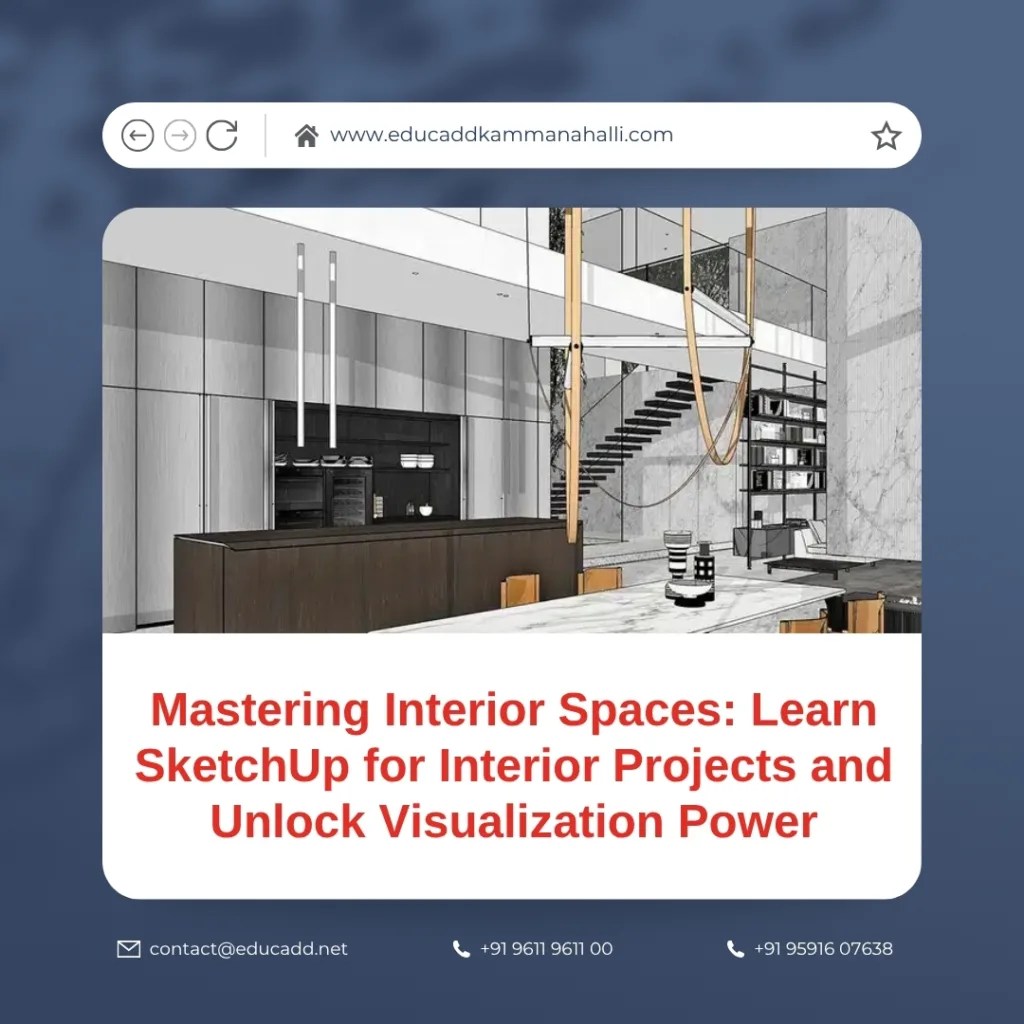
Interior design is a fine blend of art and functionality. Designers, professionals, and even homeowners are constantly searching for ways to translate their creative vision into reality. This is where SketchUp proves to be a game-changer. It empowers users to model, visualize, and refine interior spaces with accuracy and creativity. If you want to learn SketchUp for interior projects, this blog will serve as your comprehensive guide. From basics to advanced visualization tools, we’ll take a deep dive into how you can harness the full potential of SketchUp Interior Design Projects.
SketchUp Interior Design Projects
Whether you are a beginner or someone with design experience, learning SketchUp equips you with skills that can transform your design process. So, let’s start exploring how to build visually compelling and functional spaces using this powerful tool.
1. Why Learn SketchUp for Interior Projects?
Learning SketchUp for interior projects isn’t just about creating models—it’s about improving how we communicate, experiment, and deliver design. With its user-friendly interface and robust toolset, SketchUp offers features that simplify complex ideas.
a. Precision Meets Creativity
SketchUp allows you to draw with exact measurements, ensuring your space planning is always accurate. While traditional sketches may fail to convey depth or layout properly, SketchUp helps bring realism into every corner of your design.
b. Real-Time Visualization
Clients today expect more than 2D floor plans. They want to see how the space feels. SketchUp provides 3D walkthroughs and realistic visual renderings that offer a virtual tour even before construction starts.
c. Time-Saving Templates and Extensions
With ready-made templates and plugin support, designers can save time without compromising quality. From cabinetry to lighting fixtures, you’ll find pre-built components that you can instantly add and customize.
d. Enhanced Collaboration
SketchUp supports file sharing and version control, making team-based projects smooth. You can export files to various formats and even use layout tools to prepare presentation documents instantly.
Hence, choosing to learn SketchUp for interior projects gives you both flexibility and control—qualities every designer needs.
2. Core Features That Make SketchUp Ideal for Interior Design
What makes SketchUp stand out from other software is how intuitively it blends simplicity and power. Here are the essential features you’ll benefit from while working on interior design projects:
a. 3D Warehouse
This is SketchUp’s vast online library of 3D models, offering everything from sofas to switches. You can import fully detailed models directly into your workspace.
b. Push-Pull Tool
One of the most iconic features, the Push-Pull tool allows you to extrude any 2D surface into a 3D object. It’s fast, interactive, and fun.
c. Sections and Cutaways
Interior projects often require clear visibility into wall thickness, electrical layouts, and plumbing. With the section tool, you can “slice” through a model to reveal hidden elements without affecting the entire design.
d. Material and Texture Application
Color swatches, wallpapers, tiles, or wooden textures—SketchUp has it all. You can also import custom textures to maintain brand consistency or client preferences.
e. Scene Management
Create and save multiple scenes to show different views—perfect for client presentations or internal reviews. You can even animate them to create a walkthrough.
f. Dynamic Components
SketchUp supports dynamic components that can be resized, rotated, or customized with a few clicks. For example, you can scale a wardrobe without redesigning it from scratch.
Every one of these features contributes to making SketchUp a robust interior visualization tool, ideal for both freelancers and large firms.
3. Practical Workflow: Using SketchUp for a Sample Interior Project
To fully understand how to learn SketchUp for interior projects, let’s go step-by-step through a basic living room design.
a. Step 1: Space Planning and Layout
Start by importing your floor plan. Then trace walls, windows, and door openings using the Line and Rectangle tools. This gives you a clean canvas to start modeling your interior.
b. Step 2: Building Walls and Floors
Use the Push-Pull tool to raise walls. Add flooring with a simple Rectangle tool and apply textures such as hardwood, tiles, or marble. Make sure to group components to avoid overlapping issues later.
c. Step 3: Adding Furniture
Head to the 3D Warehouse and search for furniture that matches your design intent. You can find branded items or generic models. Always choose low-poly versions to keep your file lightweight.
d. Step 4: Lighting and Accessories
Lighting dramatically changes the look and feel of a room. Use plugin extensions like V-Ray or Enscape to add artificial lights and natural daylight. Add lamps, ceiling lights, and even candles for atmosphere.
e. Step 5: Rendering and Presentation
Once your model is complete, set up cameras using the Scene tool. Then render your design using rendering software. Tools like V-Ray let you add reflections, shadows, and realistic lighting to your visuals.
Finally, export your model in JPG or PDF for your client’s review. SketchUp Layout can help you present professional sheets with titles, notes, and scale dimensions.
This hands-on workflow proves that SketchUp is more than just a modeling tool—it’s a complete project solution.
4. Visualization Tools That Elevate Your Designs
Interior design isn’t just about function—it’s about emotion. Here’s where SketchUp’s visualization tools make a real difference.
a. V-Ray for Realistic Rendering
V-Ray adds photorealistic quality to your SketchUp models. Whether you want soft shadows or complex reflections, this plugin helps you showcase realistic materials and lighting conditions.
b. Enscape for Live Walkthroughs
With Enscape, you can walk through your model in real-time. You don’t just see the room—you feel it. This tool also supports Virtual Reality (VR) experiences, making presentations unforgettable.
c. Style Builder
Style Builder lets you create artistic visualizations like pen sketches or watercolor renderings. It’s useful for early-stage concepts where you want to convey design intent without getting technical.
d. Lumion and Twinmotion
These tools work alongside SketchUp and provide powerful real-time rendering and animation capabilities. You can add elements like moving trees, people, and changing skies.
e. LayOut for Documentation
LayOut is SketchUp’s built-in documentation tool. It helps you convert 3D models into scaled 2D drawings with annotations, title blocks, and dimensions—crucial for execution.
When you learn SketchUp for interior projects, understanding how to use these tools will elevate the quality of your visual storytelling.
5. Tips to Learn SketchUp for Interior Projects Effectively
Mastering SketchUp takes consistent practice and the right learning strategy. Here are some valuable tips to accelerate your learning curve:
a. Start with Simple Projects
Begin with small rooms or furniture modeling. Avoid jumping into complex projects too early. This helps you build a strong foundation in basic tools and navigation.
b. Watch Tutorial Playlists
YouTube channels like The SketchUp Essentials or SketchUp School provide structured tutorials. Follow playlists in sequence rather than randomly watching videos.
c. Join Interior Design Forums
Platforms like SketchUcation, Reddit, or even private Facebook groups help you ask questions, share your work, and get real-time feedback.
d. Practice Daily
Spend at least 30 minutes a day practicing. Even if it’s just exploring new tools or duplicating a real-world object, consistency sharpens your skills quickly.
e. Use Plugins Strategically
Don’t install every plugin. Start with a few essential ones like V-Ray, Enscape, and CleanUp3. Gradually add more as your needs grow.
f. Work With Layers and Tags
Organize your model using tags and layers. This prevents clutter, especially in large interior projects with multiple components.
g. Save Versions Frequently
Use SketchUp’s version history or manually save different versions. It helps you recover from mistakes and revisit earlier ideas.
By following these tips and maintaining a steady learning routine, you’ll find yourself modeling like a pro in just a few months.
Conclusion: Embrace the Future of Interior Visualization with SketchUp
The future of interior design lies in digital visualization. And SketchUp leads that transformation by making 3D modeling accessible, powerful, and fun. From ideation to execution, SketchUp supports every stage of your design journey. Whether you want to experiment with layouts, impress clients with stunning visuals, or streamline documentation—SketchUp delivers.
So, if you’re looking to learn SketchUp Interior Design Projects, start now. Download the software, follow tutorials, and build your first space. Your creativity deserves the right tool, and SketchUp is exactly that.

